Easy Homemade Birthday Cake Ice Cream: Your Ticket to Instant Celebration
Imagine the joyful anticipation of a birthday cake, now imagine that same delightful flavor transformed into a cool, creamy scoop of ice cream. That’s precisely what you get with homemade birthday cake ice cream – a vibrant, sweet, and utterly irresistible treat perfect for any celebration. Forget store-bought monotony; crafting this festive dessert at home is surprisingly simple, deeply satisfying, and guarantees smiles all around. Whether it's a birthday bash, a summer gathering, or just a Tuesday that needs a little extra sparkle, this recipe promises a party in every spoonful.
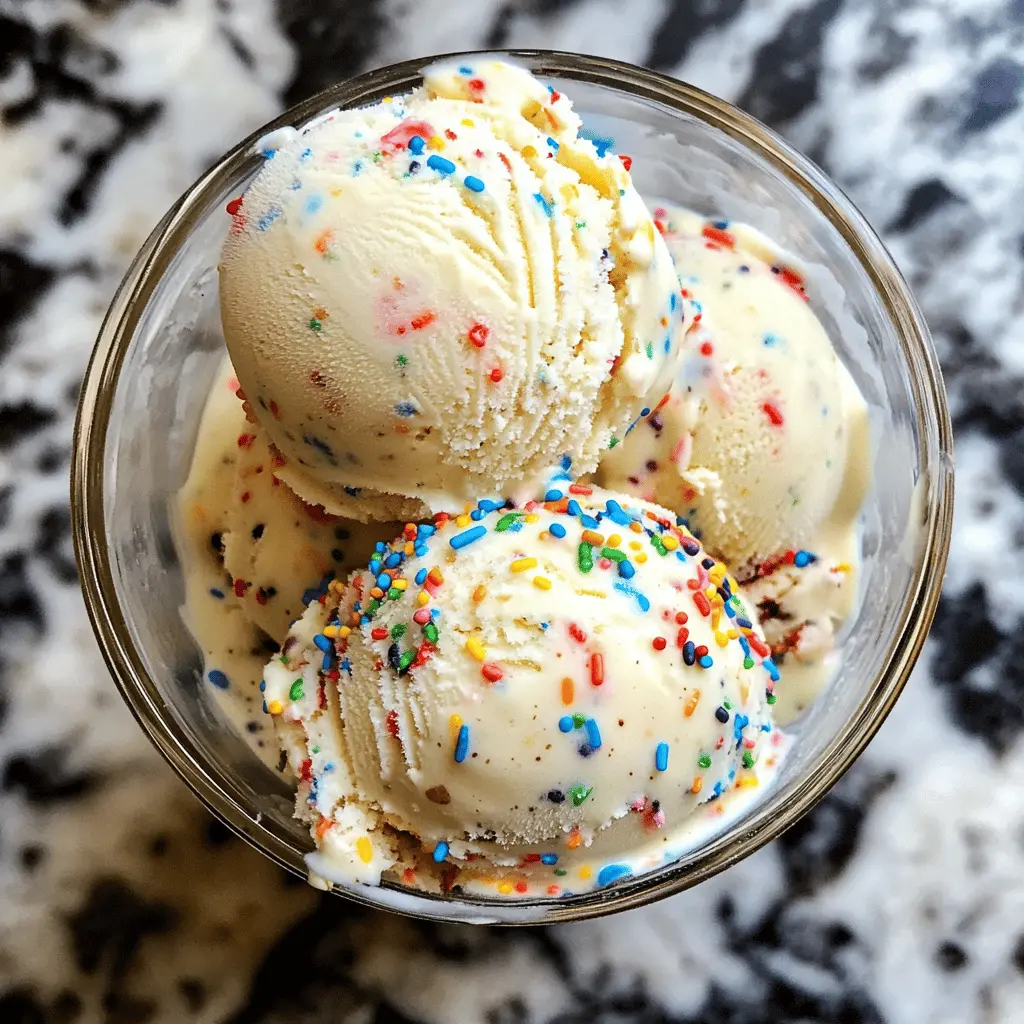
From its vibrant sprinkles to its hidden pockets of cakey goodness, this dessert embodies fun. And the best part? It's much easier to make than you might think. With just a handful of ingredients and a little patience, you'll be well on your way to serving up a dessert that tastes like pure joy, leaving your family and friends asking for a second scoop!
Why Homemade Birthday Cake Ice Cream is a Celebration Must-Have
There’s something truly special about homemade treats, and birthday cake ice cream is no exception. It’s more than just a dessert; it’s an experience that evokes nostalgia, happiness, and a sense of occasion. Here’s why this creamy confection should be on your menu for your next get-together:
- Unmatched Flavor & Freshness: Unlike many commercial varieties, homemade ice cream offers a depth of flavor and a silky-smooth texture that’s simply superior. You control the quality of ingredients, ensuring every bite is rich, fresh, and authentically delicious.
- Perfect for Personalization: This recipe is a fantastic canvas for creativity. Want extra sprinkles? Go for it! Prefer a different type of cake? Experiment! Homemade allows you to tailor the treat precisely to your taste and the theme of your celebration.
- A Unique Twist on Tradition: While cake is a staple at birthdays, serving it as an ice cream offers a refreshing and unexpected twist. It’s a fantastic way to offer something familiar yet exciting, making your celebration stand out.
- The Joy of Creation: There's immense satisfaction in preparing a delicious treat from scratch. Watching simple ingredients transform into a decadent dessert is rewarding, and it often becomes a fun activity to share with family.
- Versatility for Any Occasion: While "birthday cake" is in the name, this ice cream isn't exclusive to birthdays. Its cheerful appearance and delightful flavor make it ideal for graduations, anniversaries, holidays, or simply as a delightful summer indulgence. It’s a truly versatile dessert for any celebration!
Mastering the Creamy Base: Essential Ingredients for Perfect Birthday Cake Ice Cream
The secret to truly outstanding birthday cake ice cream lies in its foundation: a rich, creamy base that melts deliciously in your mouth. Understanding the role of each ingredient is key to achieving that perfect texture and unforgettable flavor. Here’s a breakdown of the core components:
Heavy Cream: The Foundation of Richness
Heavy cream is non-negotiable for a truly decadent and creamy ice cream. Its high fat content (typically 36% or more) is what prevents the formation of large ice crystals, resulting in that smooth, luxurious mouthfeel we all crave. While some might suggest half-and-half for a lighter option, be warned: you'll sacrifice a significant amount of creaminess and richness. For the best results, stick with full-fat heavy cream.
Whole Milk: Balancing the Base
Complementing the heavy cream, whole milk adds to the liquid volume and contributes additional dairy fat, further enhancing creaminess without making the mixture overly thick. If you're exploring dairy-free alternatives, full-fat coconut milk can offer a similar richness, though it will impart a subtle coconut flavor. Almond milk or other thinner plant-based milks will result in a less creamy, potentially icier texture.
Granulated Sugar: Sweetness and Structure
Beyond its primary role as a sweetener, granulated sugar is vital for the texture of homemade ice cream. It helps lower the freezing point of the mixture, contributing to a softer, less icy scoop. Ensure the sugar is fully dissolved in your base mixture before churning or freezing to prevent a grainy texture. For those looking to reduce sugar, sugar substitutes like stevia or erythritol can be used, but always check conversion rates as their sweetness levels vary significantly from sugar.
Vanilla & Almond Extracts: The Flavor Powerhouses
These extracts are crucial for building the signature birthday cake ice cream flavor. Pure vanilla extract provides a warm, sweet, and comforting note that forms the backbone of most dessert flavors. Adding a touch of almond extract elevates the "cake batter" essence, giving it that distinct bakery-fresh taste. While optional, almond extract truly makes this ice cream shine. Always opt for pure extracts over artificial ones for the best flavor profile.
Yellow Cake Mix: The Magic Ingredient
This is where the "birthday cake" truly comes to life! A small amount of yellow cake mix infuses the ice cream with that unmistakable cake batter flavor and a tender, slightly chewy texture. It's the secret weapon that makes each scoop a delightful surprise. If you prefer to avoid store-bought mixes, you can substitute with homemade vanilla or yellow cake, baked, cooled, and crumbled into small bits. Just ensure the cake is plain to let the core flavors shine. A note on cake mix: many recipes use raw cake mix, which generally contains raw flour. If you have concerns about consuming raw flour, you can lightly toast the cake mix in the oven or microwave before adding it to your base.
Rainbow Sprinkles: The Ultimate Festive Touch
No birthday cake ice cream is complete without a generous showering of rainbow sprinkles! They provide a burst of color and a playful crunch, making each scoop visually appealing and incredibly fun. "Jimmie" sprinkles (the long, cylindrical ones) tend to hold their color and shape better in ice cream compared to nonpareils (the tiny, round ones), which can sometimes bleed their colors. For a healthier or naturally colored option, look for plant-based sprinkles or simply embrace the cake-batter look without them!
Churn or No-Churn? Achieving that Irresistible Creamy Texture
One of the most common questions when making homemade ice cream is about achieving that perfect, creamy consistency without dreaded ice crystals. Fortunately, there are fantastic methods available, whether you own an ice cream maker or not. The goal is always to incorporate air and freeze quickly.
Using an Ice Cream Maker for Superior Smoothness
If you have an ice cream maker, it's an excellent tool for achieving a professional-quality, silky-smooth texture. The churning process continuously breaks up ice crystals as they form, while also incorporating air, making the ice cream light and fluffy. Here’s how to get it just right:
- Prepare and Chill Your Base: After combining your heavy cream, milk, sugar, and extracts, make sure the sugar is fully dissolved. Crucially, chill your entire base mixture thoroughly in the refrigerator for at least 2-4 hours, or even overnight. A colder base churns more efficiently and results in a creamier final product.
- Churn According to Instructions: Pour the chilled base into your ice cream maker bowl (which should also be pre-chilled, if it's a freezer-bowl type). Churn for about 20-25 minutes, or until the mixture reaches a soft-serve consistency. It should be thick and airy but still soft.
- Don't Over-Churn: Stop churning as soon as it reaches soft-serve stage. Over-churning can lead to a dense, icy texture.
- Add Inclusions: In the last few minutes of churning, or immediately after stopping, fold in your yellow cake mix and rainbow sprinkles. This ensures they are evenly distributed.
- Freeze to Firm Up: Transfer the soft ice cream to a shallow, freezer-safe container. Press a piece of parchment paper or plastic wrap directly onto the surface of the ice cream to prevent ice crystals from forming on top. Freeze for at least 3-4 hours, or until firm enough to scoop.
For more detailed tips on getting that perfect creamy texture, including how sprinkles and cake bits play a role, be sure to check out our guide on Unlock Creamy Birthday Cake Ice Cream: Sprinkles & Cake Bits.
The "No-Churn" Method: Creaminess Without the Machine
For those without an ice cream maker, the "no-churn" method is a fantastic, equally easy alternative that still delivers incredible creaminess. It relies on whipping heavy cream to stiff peaks and then folding it into a condensed milk base (which is often sweetened and flavored). While our specific recipe outlines a churn method, a no-churn version would involve:
- Whipping very cold heavy cream until stiff peaks form.
- Gently folding this whipped cream into a separate mixture of sweetened condensed milk, vanilla, almond extract, and your yellow cake mix.
- Folding in the sprinkles.
- Freezing the mixture in a shallow container.
This method works because the whipped cream provides the necessary aeration, and the condensed milk base is already rich and sweet, contributing to a lower freezing point.
Regardless of the method you choose, remember that homemade ice cream can be a bit softer than store-bought. Letting it sit out for 5-10 minutes before scooping will make serving a breeze!
Step-by-Step Guide to Your Homemade Birthday Cake Ice Cream
Ready to get started? Here’s a detailed guide to whipping up your own batch of delightful birthday cake ice cream. This method assumes you will be using an ice cream maker, as detailed in the comprehensive source material:
Ingredients You’ll Need:
- 2 cups heavy cream
- 1 cup whole milk
- 3/4 cup granulated sugar
- 1 tablespoon pure vanilla extract
- 1/2 teaspoon almond extract (optional, but highly recommended)
- 1/3 cup yellow cake mix (store-bought or homemade, crumbled)
- 1/4 cup rainbow sprinkles (jimmies or nonpareils)
Time Commitment:
This refreshing treat is quite quick to prepare, requiring about 15 minutes of active prep time. If using an ice cream maker, churning will take an additional 20-25 minutes. Following that, you'll need at least 3-4 hours for freezing to allow it to firm up properly. So, plan for approximately 4 hours from start to scoop, with most of that being hands-off!
Step-by-Step Instructions:
- Prepare Your Base Mixture: In a large mixing bowl, combine the heavy cream, whole milk, granulated sugar, pure vanilla extract, and optional almond extract. Whisk vigorously until the sugar is completely dissolved. This step is crucial for a smooth, non-grainy texture.
- Chill the Base: Cover the bowl and refrigerate the mixture for at least 2-4 hours, or preferably overnight. A well-chilled base will churn faster and produce a creamier ice cream.
- Churn the Ice Cream: Pour the chilled base mixture into your ice cream maker's frozen bowl (ensure your bowl has been frozen for at least 24 hours). Churn according to your machine's instructions, typically for 20-25 minutes, until the ice cream reaches a soft-serve consistency.
- Incorporate Cake Mix and Sprinkles: During the last 2-3 minutes of churning, or immediately after you stop the machine, add the yellow cake mix and rainbow sprinkles to the ice cream maker. Let the machine mix them in briefly, or gently fold them in by hand.
- Final Freeze: Transfer the soft birthday cake ice cream into a shallow, freezer-safe container. For best results, press a piece of parchment paper or plastic wrap directly onto the surface of the ice cream before securing the lid. This prevents ice crystals from forming on top. Freeze for a minimum of 3-4 hours, or until it's firm enough to scoop beautifully.
For more detailed guidance on specific steps and ingredients, including visual aids, explore our article on Homemade Birthday Cake Ice Cream: Simple Steps & Key Ingredients.
Celebrate Every Moment with Homemade Goodness
Crafting your own easy homemade birthday cake ice cream is more than just making a dessert; it's about creating memories and adding a touch of personalized joy to any occasion. From the vibrant rainbow sprinkles to the delightful pockets of cake, every spoonful is a celebration in itself. With simple ingredients and straightforward steps, you can achieve a wonderfully creamy, richly flavored treat that outshines any store-bought alternative.
So, whether you're planning a grand birthday bash, a casual summer get-together, or simply want to brighten a regular day, remember that the magic of homemade is always within reach. Go ahead, gather your ingredients, follow these steps, and prepare to delight everyone with your incredible homemade birthday cake ice cream!
